How to add a new artist
For a successful nail salon business, your salon needs skilled artists. Each artist will have different skills to meet the needs of customers. To add a salon artist on Maby, follow these instructions:
Step 1: After Signing in to Maby, select the Store item on the left side of the screen.

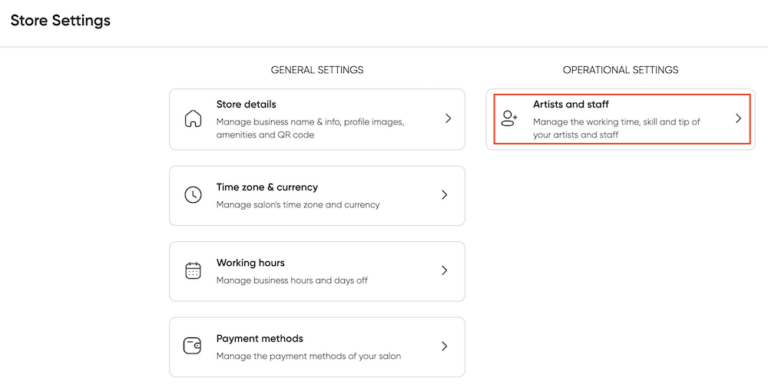
Step 2: Select the item artists and staff in the Store Settings section, click (+ Add new) on the upper right.

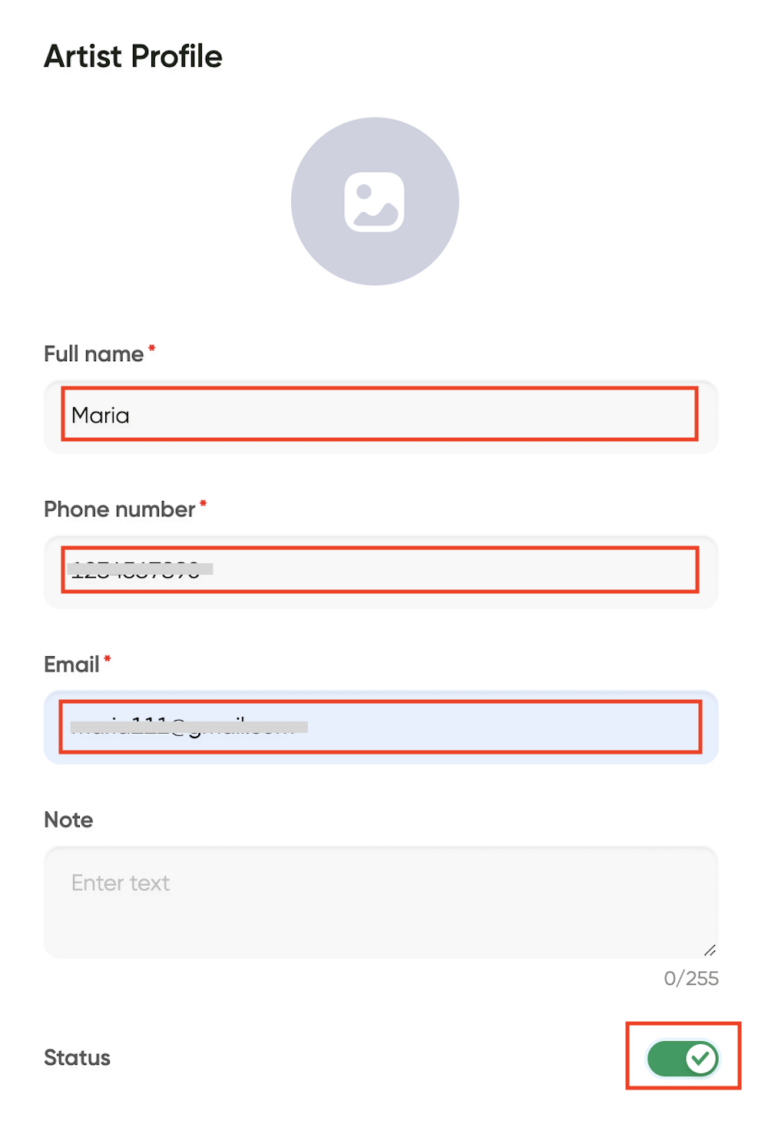
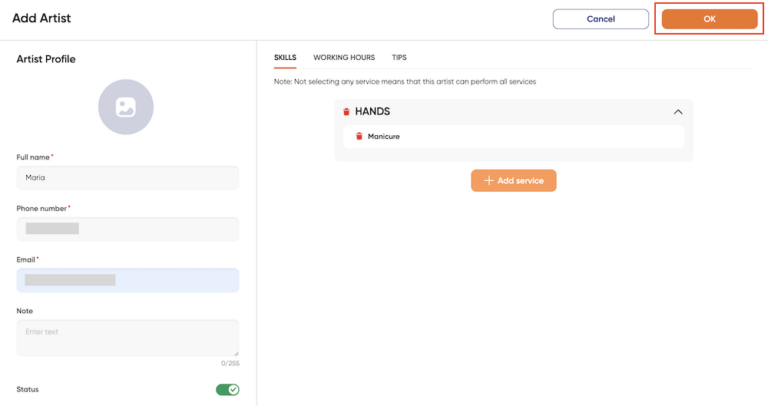
Step 3: You can add a photo of the artist and fill in the basic information of the artist: Full name, Phone number, Email, and Note (If any). Finally, you change the status below to green to set up ( operator).
Step 4: In the Skills section, press (+ Add service) and select the services the artist can do, then press OK.
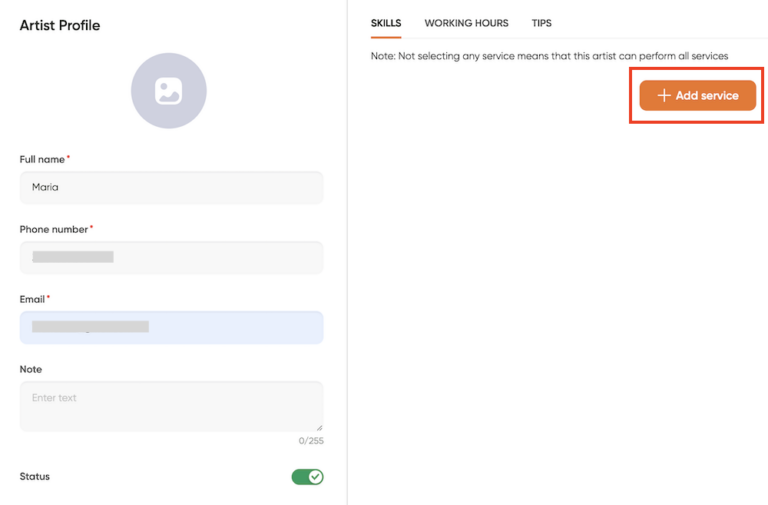
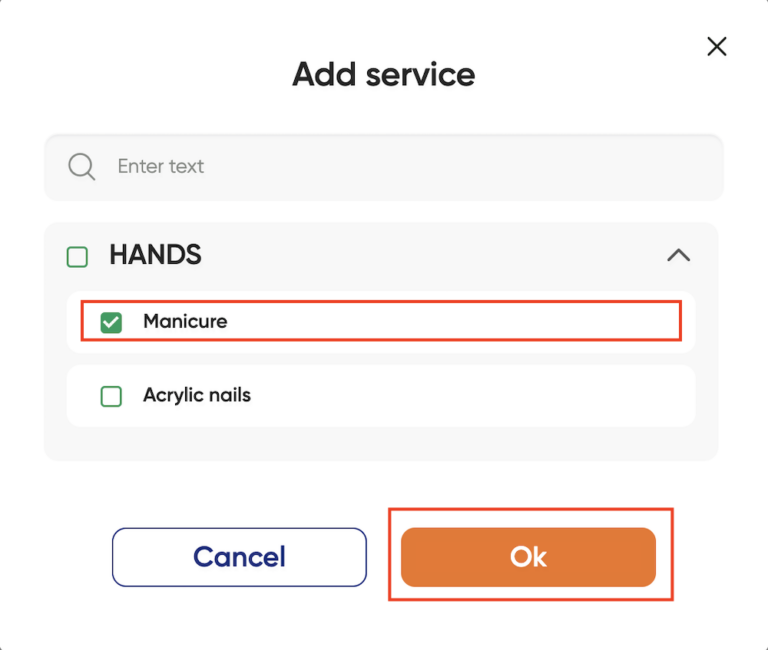
Note: Not selecting any service means that this artist can perform all services.
After selecting more services about the artists’ skills, click OK in the right corner to save.
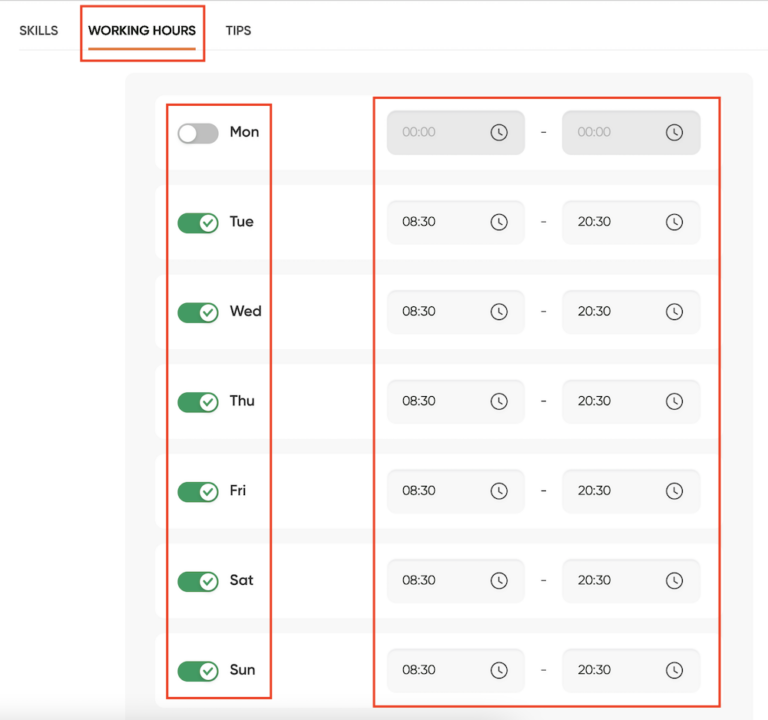
Step 5: Select Working hours > set the time and change the status to green for the artist’s working days > click OK.
Step 6: Click OK in the upper right corner, the artist will be added to the salon’s list of artists.
After pressing OK, the artists will be added to the salon’s list of artists.

Step 7: If you want to edit the artist information, click Edit.

in the Skills section, select Add services the artist can do and press OK similar to the above steps.
That’s all a guide to completing your nail salon. During the process of setting up your salon, if you have any questions, you can contact Maby customer service staff for assistance.
Nail artists are a need for any successful nail shop, as they will be the ones that interact with customers. To add a nail artist on Maby, follow these instructions:
Step 1: Log in to the salon’s account on Maby, tap the Profile section below the screen tab bar.

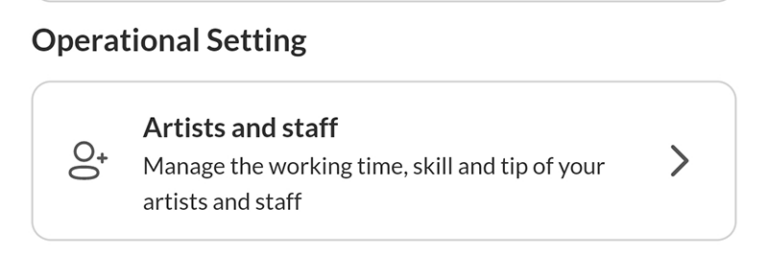
Then scroll down and tap the item Artists in the Operation Settings section.
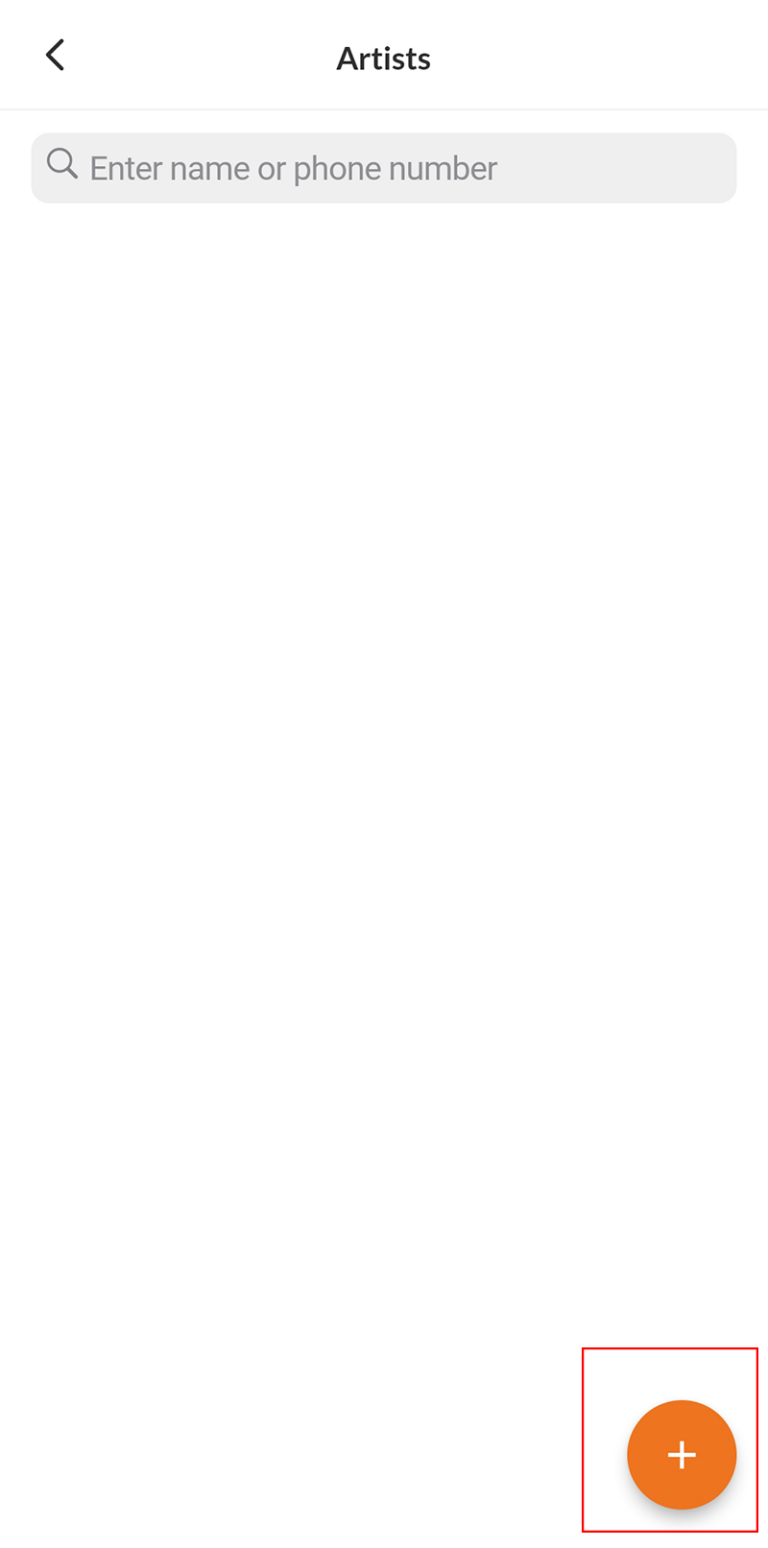
Step 2: If you do not have artists to operate, tap the (+) button below the screen to add one.
Step 3: You can add a profile picture of the artist and fill in the basic information: Full name, phone number, and email
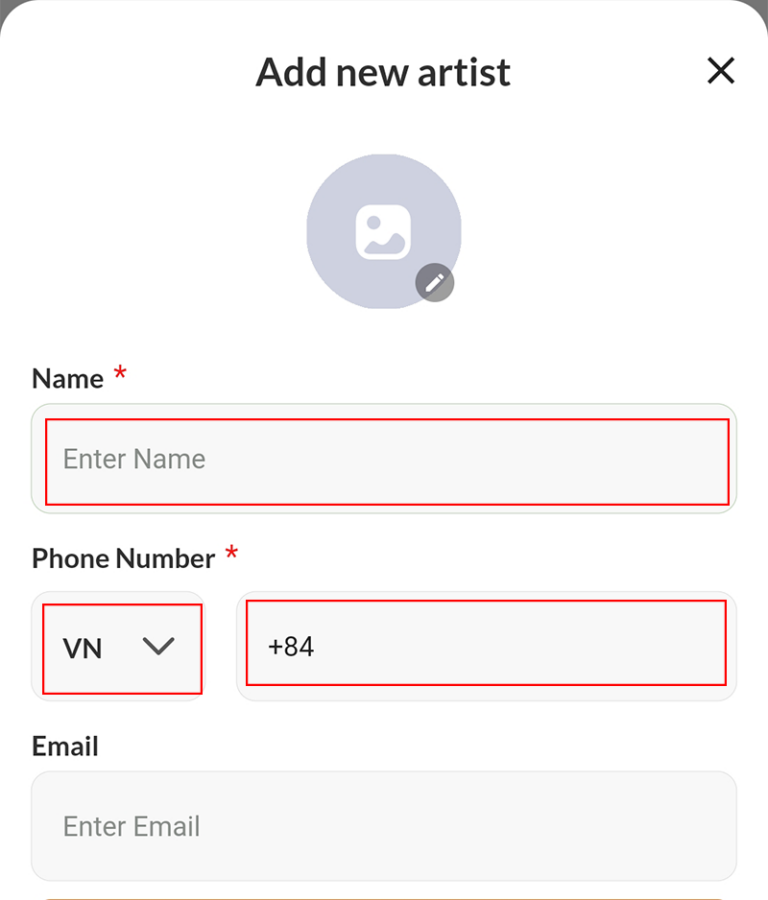
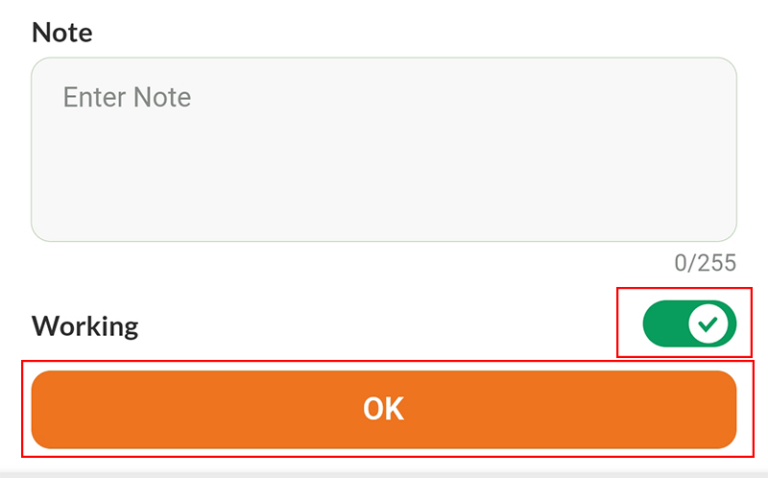
Fill in the Notes (If any). Finally, you change the status below to green to set up (operator), then tap OK.
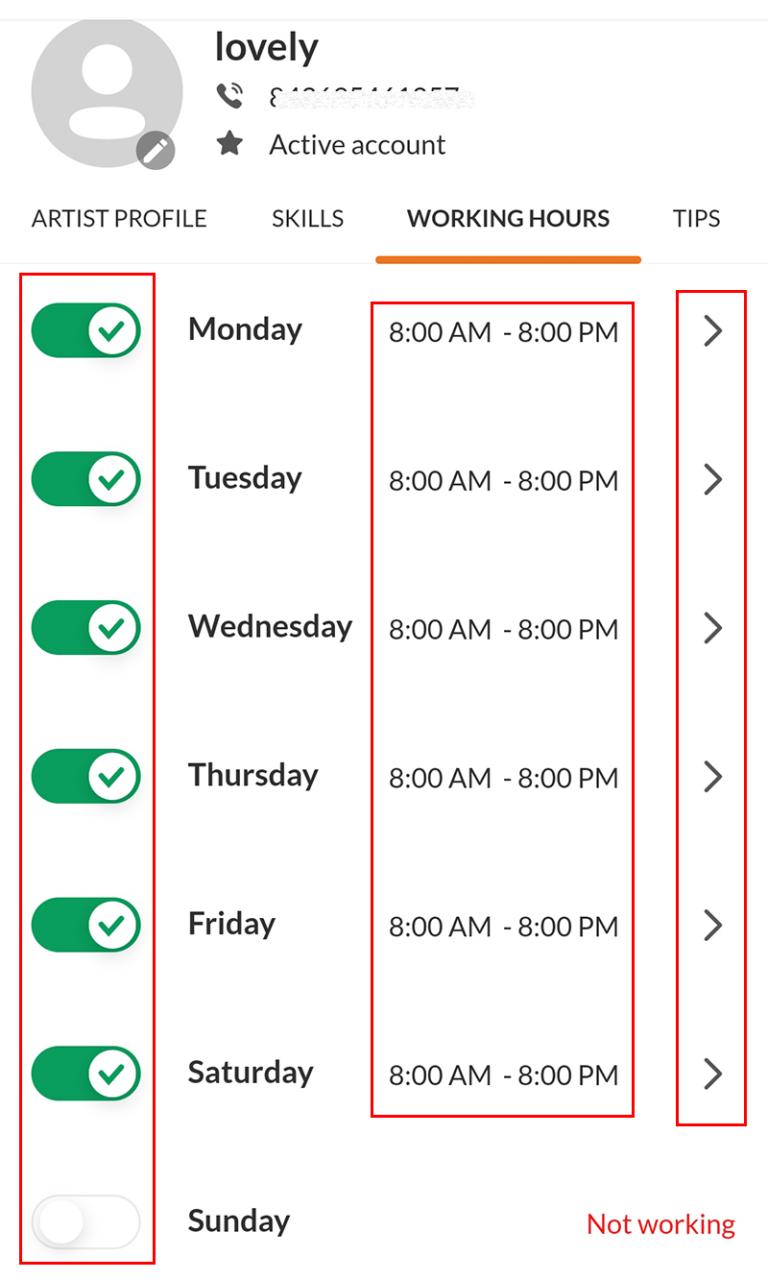
Step 4: The screen displays Artist’s Working Hours. Change the status to green for the worker’s working days, then tap the working hours or the (>) button to adjust the time.
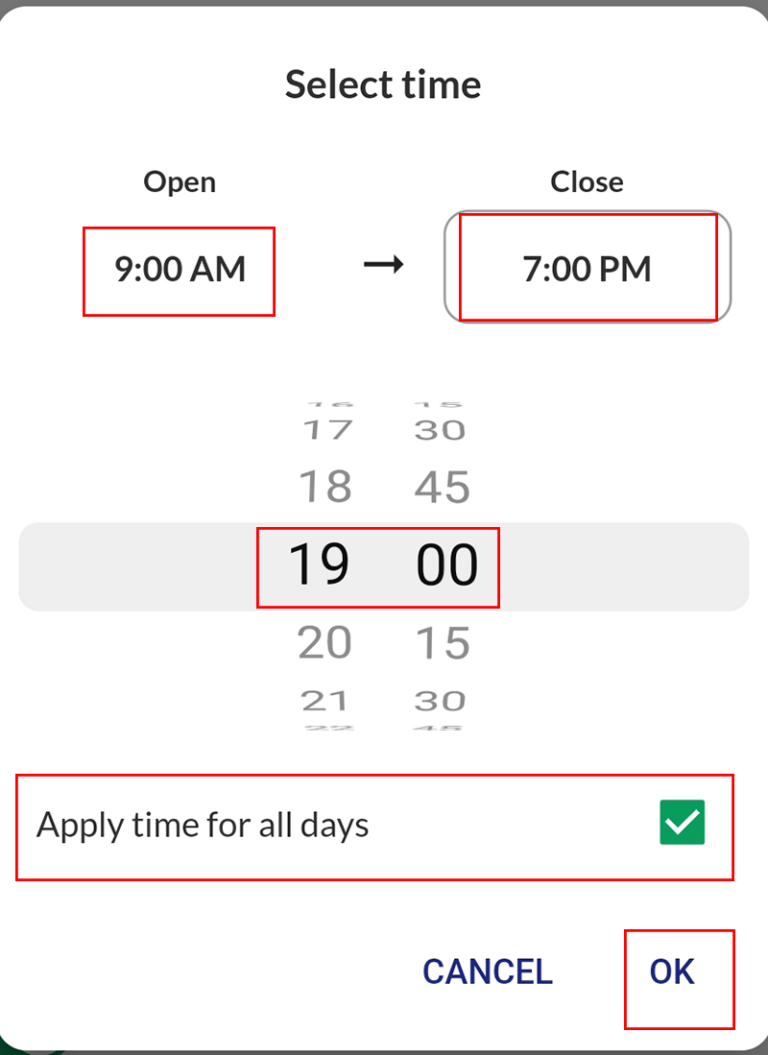
Next, you set the opening and closing hours. If working days are the same, select the Apply to other days box, then press OK.
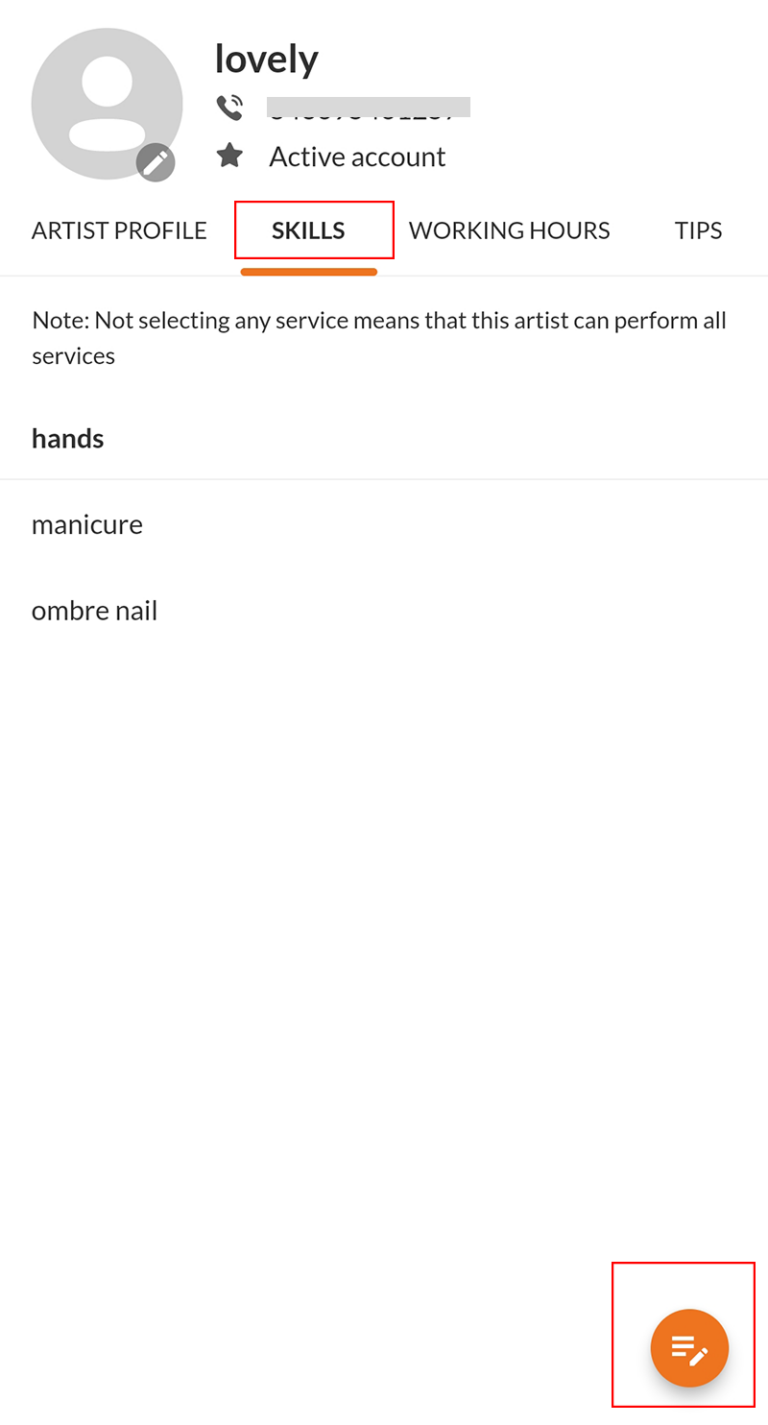
Step 5: Swipe the screen to the right in the Skills section. All services available in the salon’s menu will be displayed. Tap the orange button icon in the lower right corner to tap the artist’s skill.
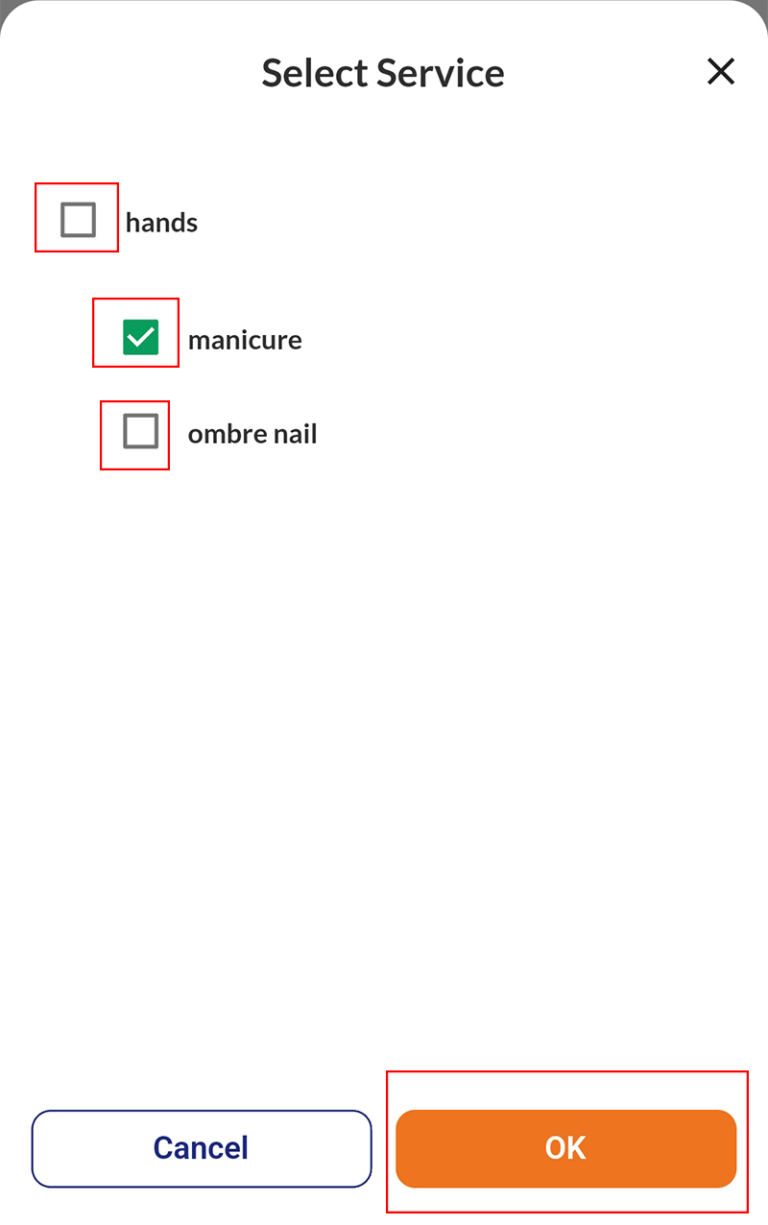
Tick green the services you want the artist to do, and tap OK
Note: If no service is selected, it is assumed that all of the artist’s services are performed.
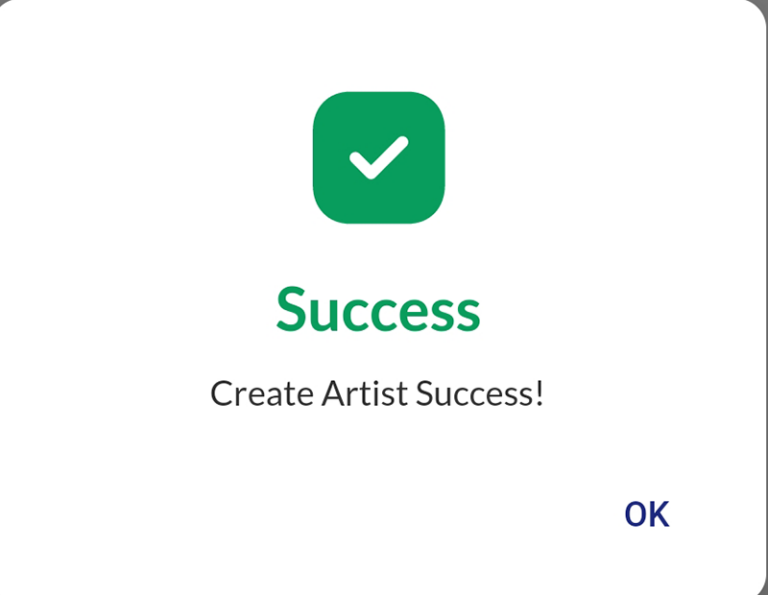
Thus, you have successfully created a new artist! The artist will be added to the salon’s list of artists.
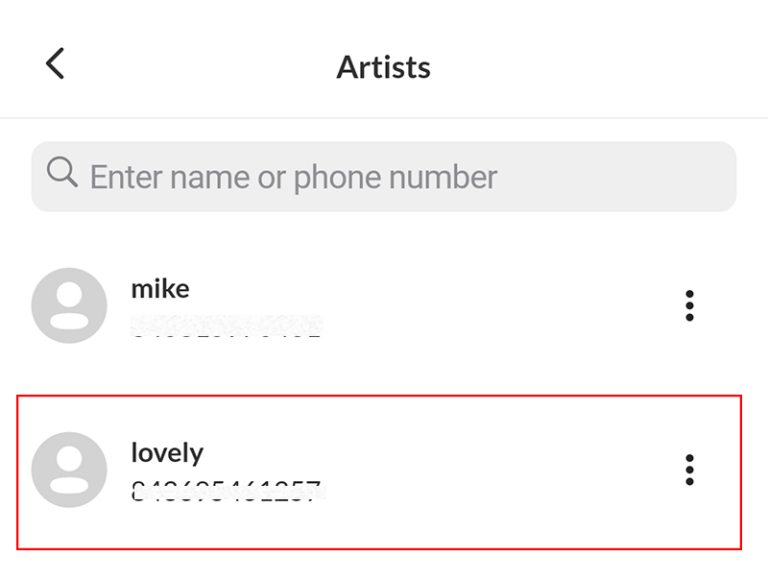
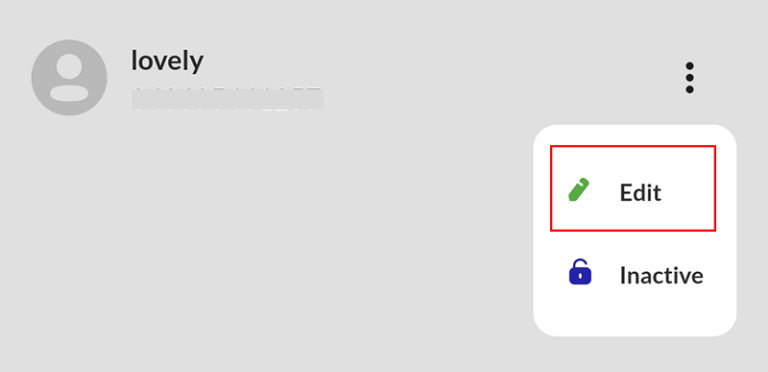
Step 6: To edit the Artist’s information, tap on the 3-dot button and tap Edit.
That’s all a guide to completing your nail salon. If you need help setting up the salon or have any questions, contact Maby’s customer care for support.
