The customer wants to change the information booked, or you want to change some knowledge in the appointment schedule. To edit a customer’s appointment schedule, follow these steps:
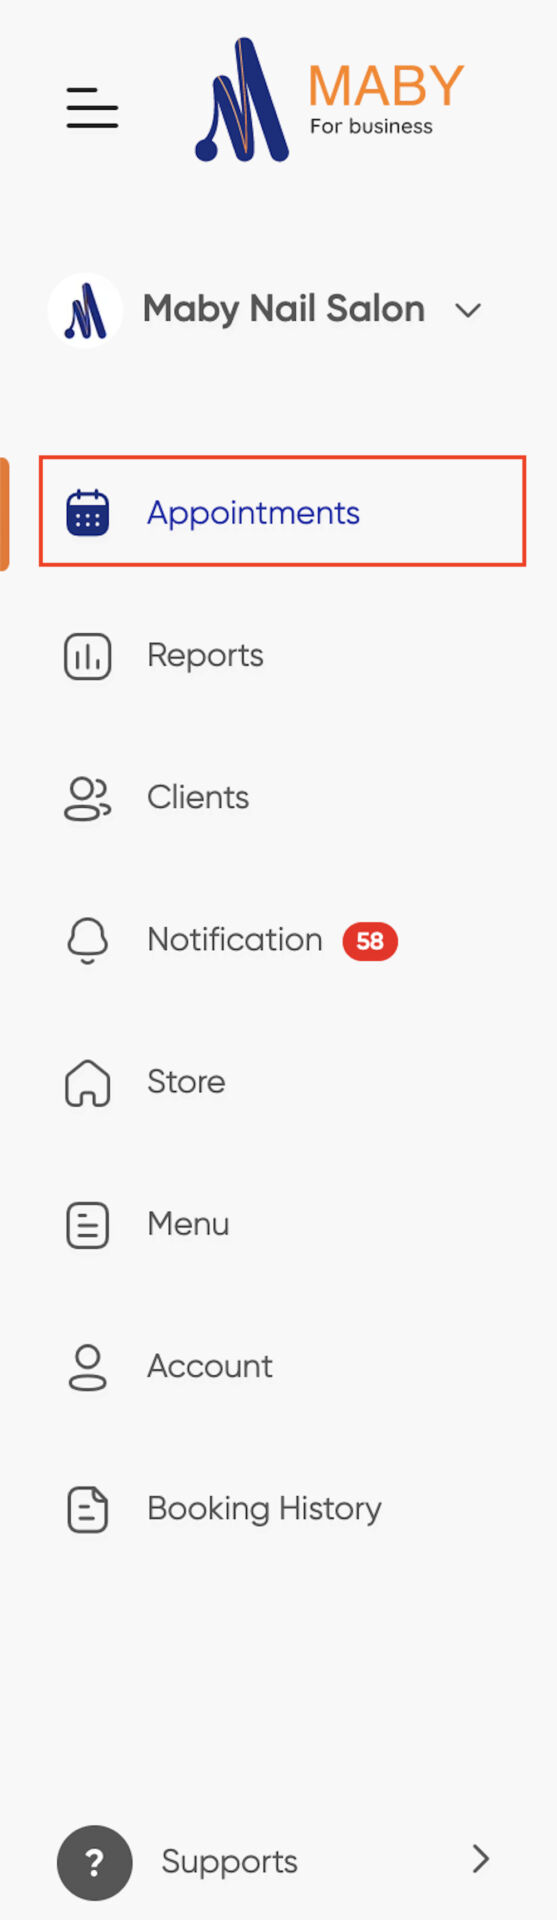
Step 1: Sign in to Maby and select Appointments schedule on the left side of the screen.
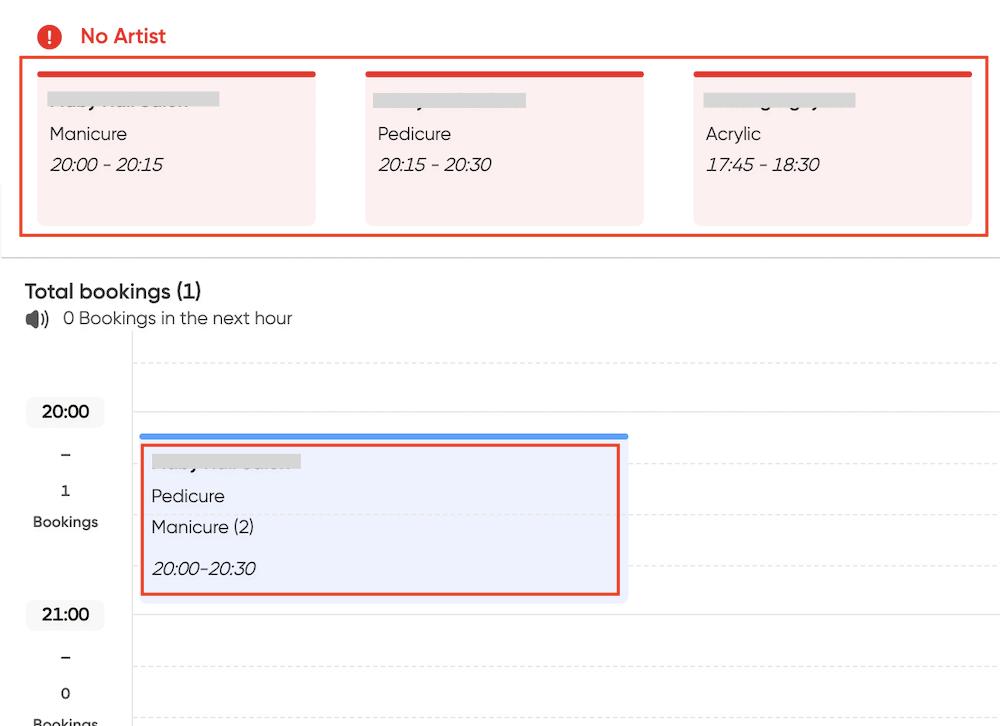
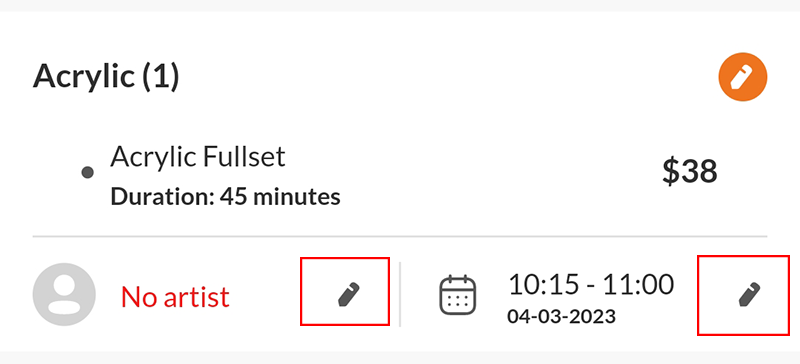
Step 2: All appointments selected by the customer will be displayed with the time below; those that have not been assigned an artist will be displayed in red above. Tap on the appointment to see the details of that appointment.
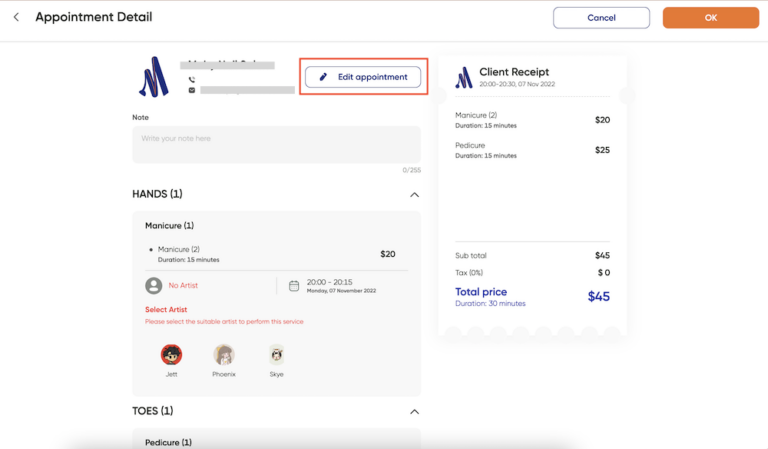
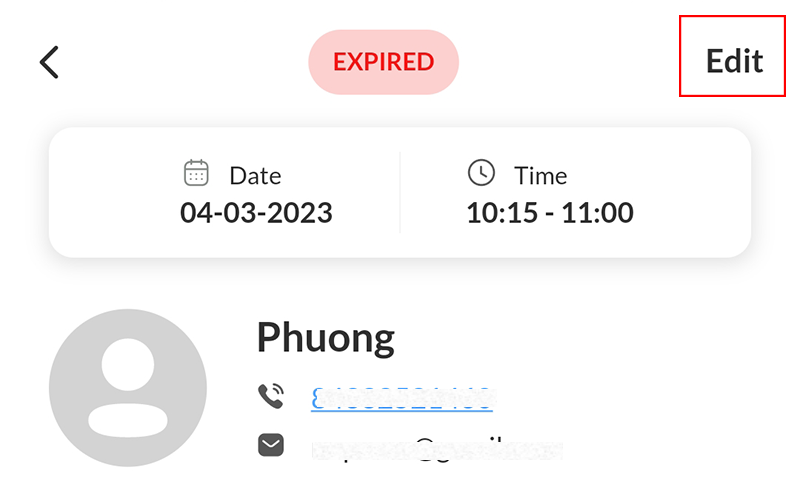
Step 3: To edit an appointment, tap the Edit Appointment button.
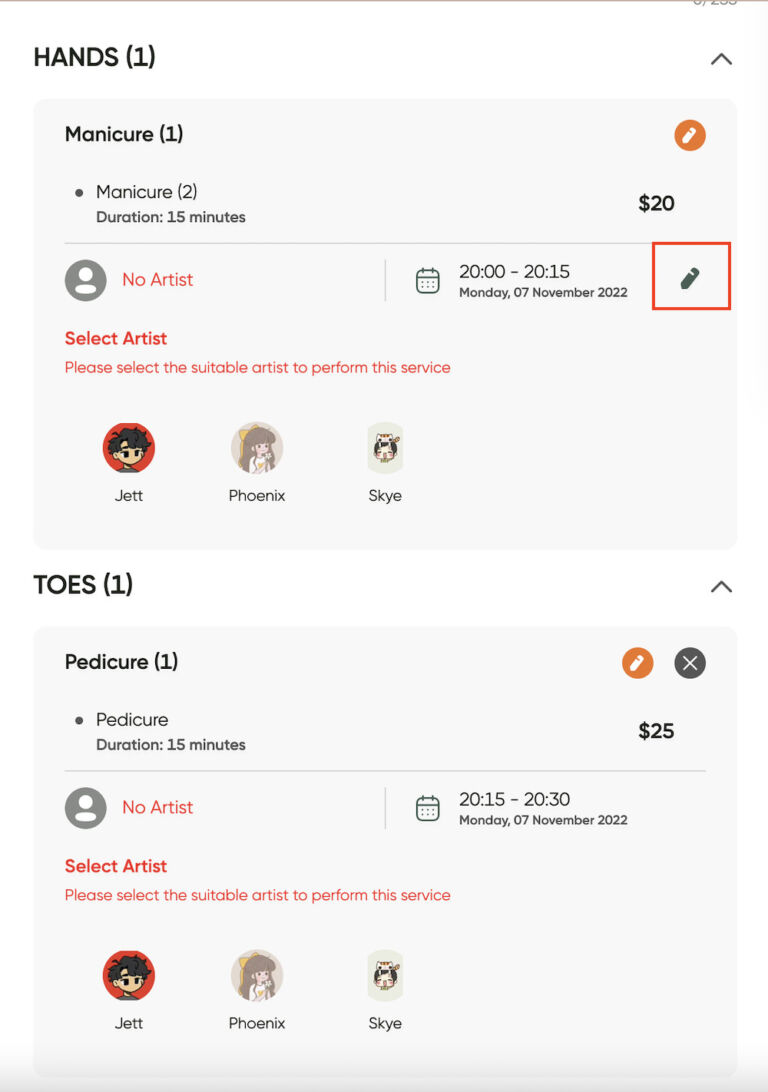
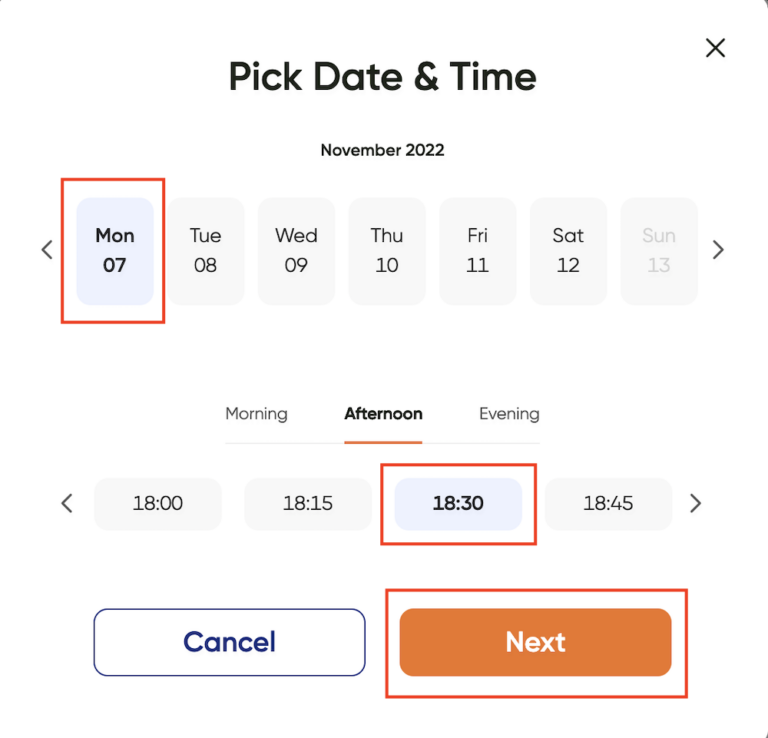
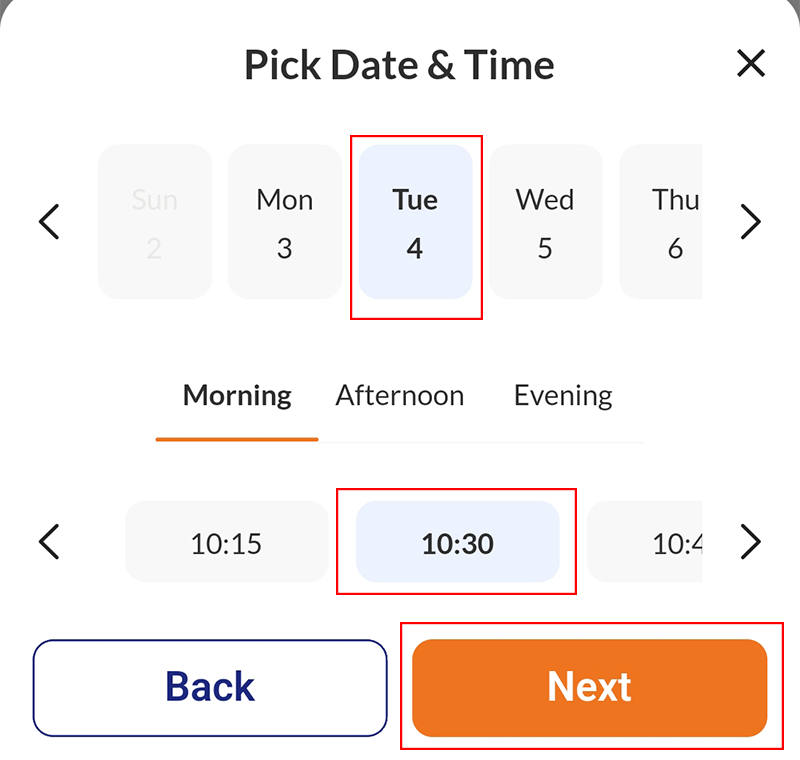
Step 4: Tap the Pencil icon in the time section, then Set the date and time > Next.
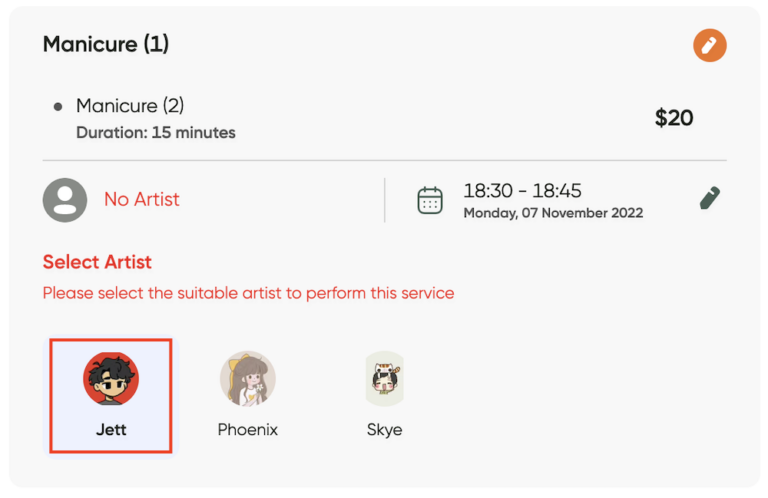
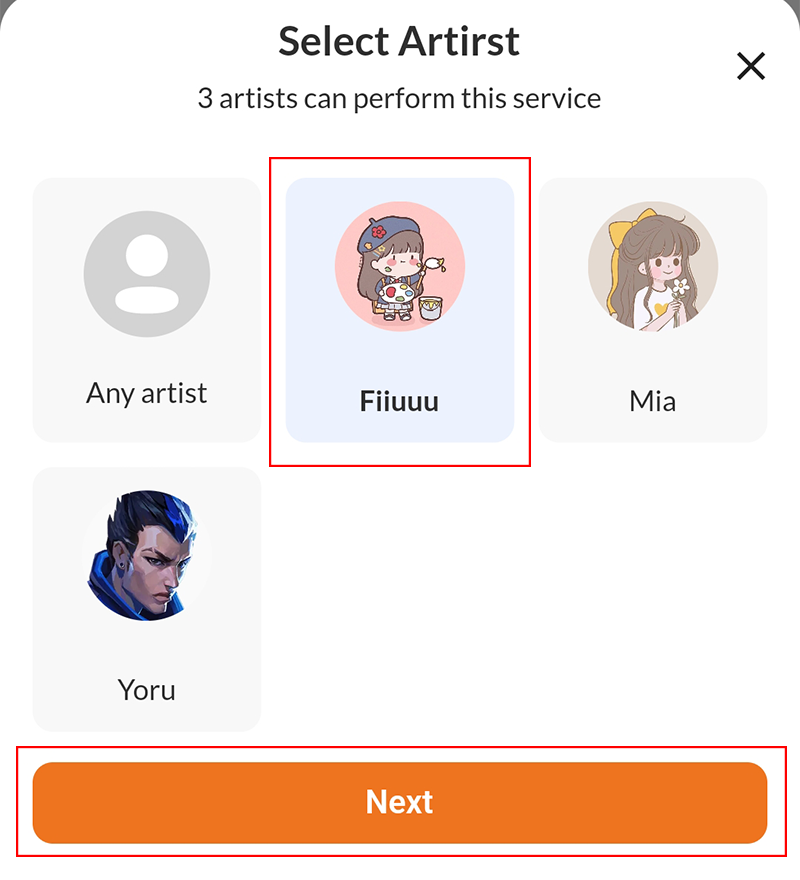
Choose an artist to do the service.
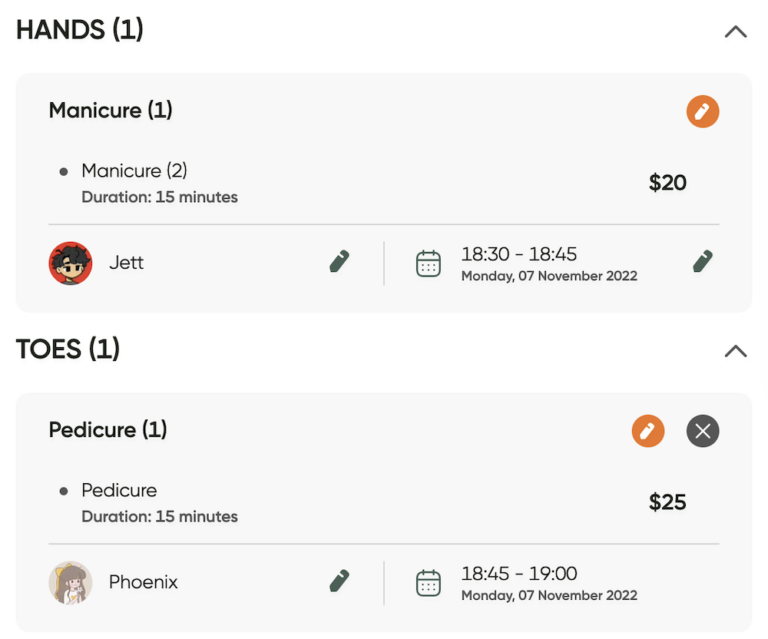
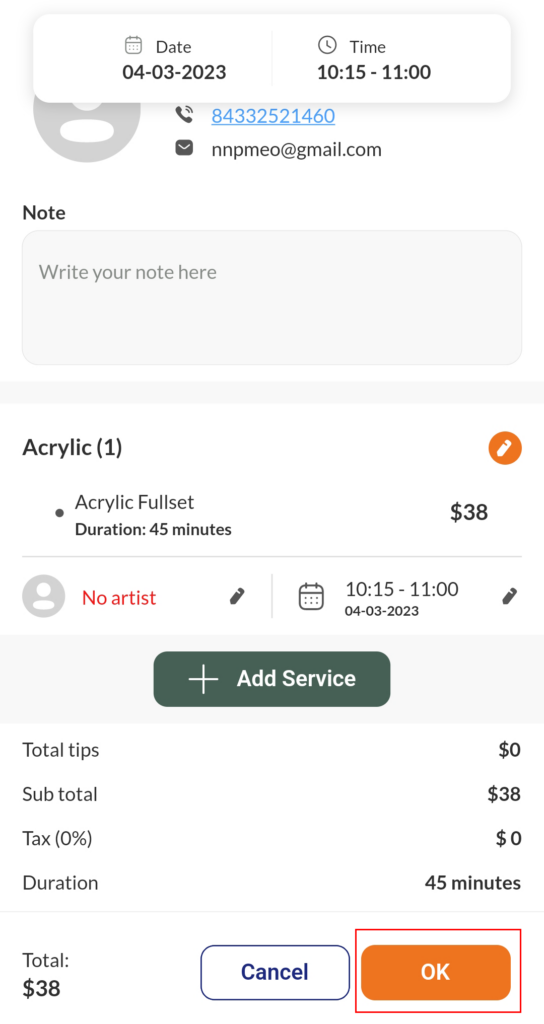
Step 5: Check the appointment information again and then click OK.
The Mobile Content is Below This
The customer wants to update the information that has been scheduled, or you want to change something in the appointment schedule. To edit the customer’s appointment schedule, follow these steps:
Step 1: Log into Maby, select Appointment Schedule
Step 2: All appointments selected by the customer will be displayed with the time next to them, any appointments that have not been allocated to an artist will be highlighted in red above. To view the appointment details, click on the appointment.
Step 3: To edit the appointment, press the button Edit
Step 4: Select the Pencil symbol in the time section, then Set the date and time > Next
You need to select Artist to do the service and then press Next
Step 5: Check the appointment information and click OK
You have successfully edited your appointment schedule!