Maby will help you manage your nail salon chain better with just a single account. It’s easy to remember and simple, isn’t it? It is an essential factor when managing multiple branch tracking. You will conveniently update the information quickly and accurately with little time. With the features that Maby brings, you will easily control the activities of the nail salon.
To manage multiple nail salons on one account, do the following:
In the left corner of the screen, move to the icon and name of the salon, and click Switch salon.
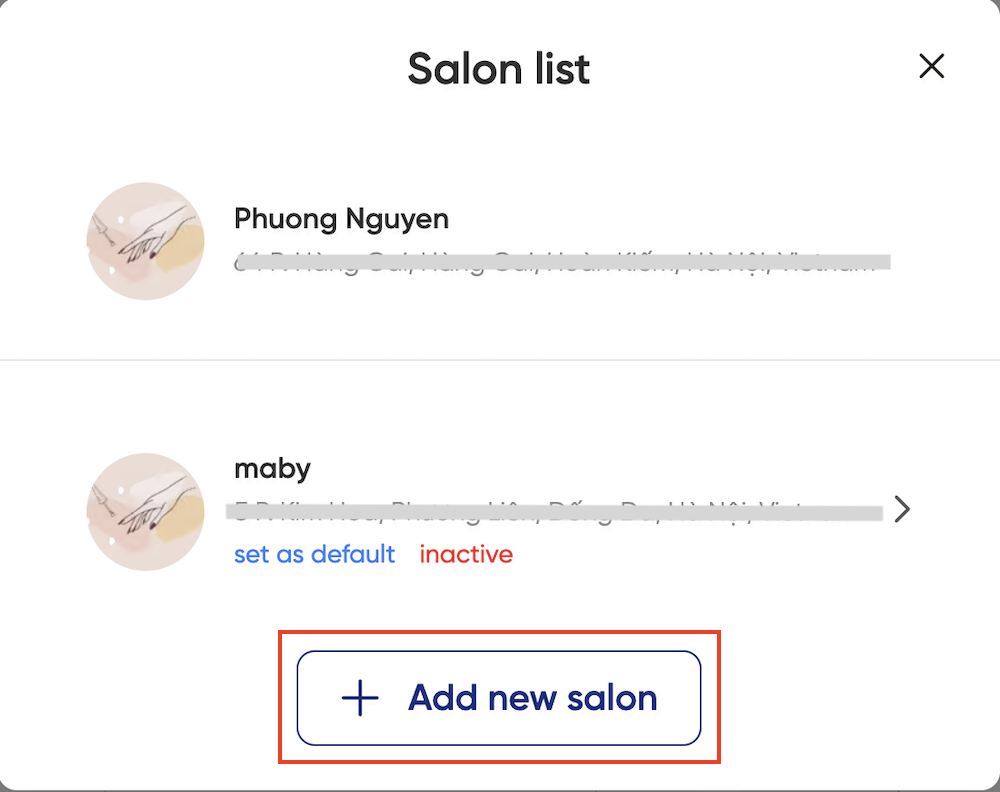
Appear the salons you are managing, click (+Add New Salon)
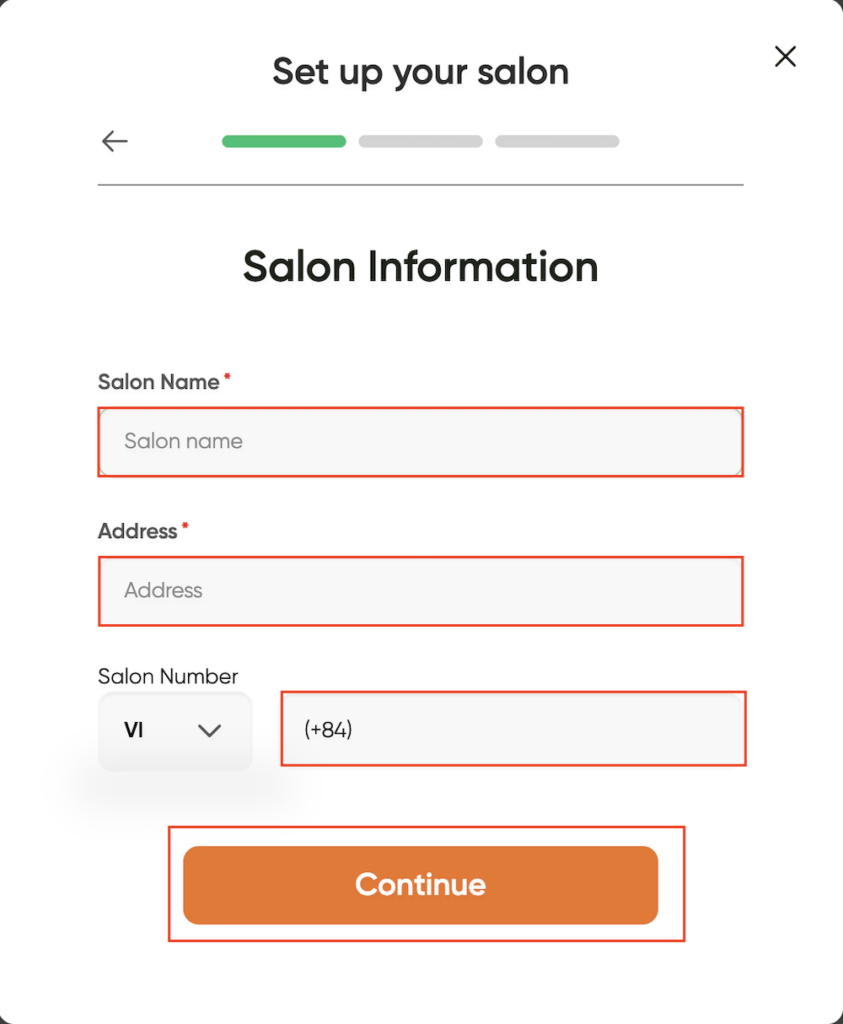
You enter the new salon’s information, including the salon’s name, address, and number. Once completed, select Continue.
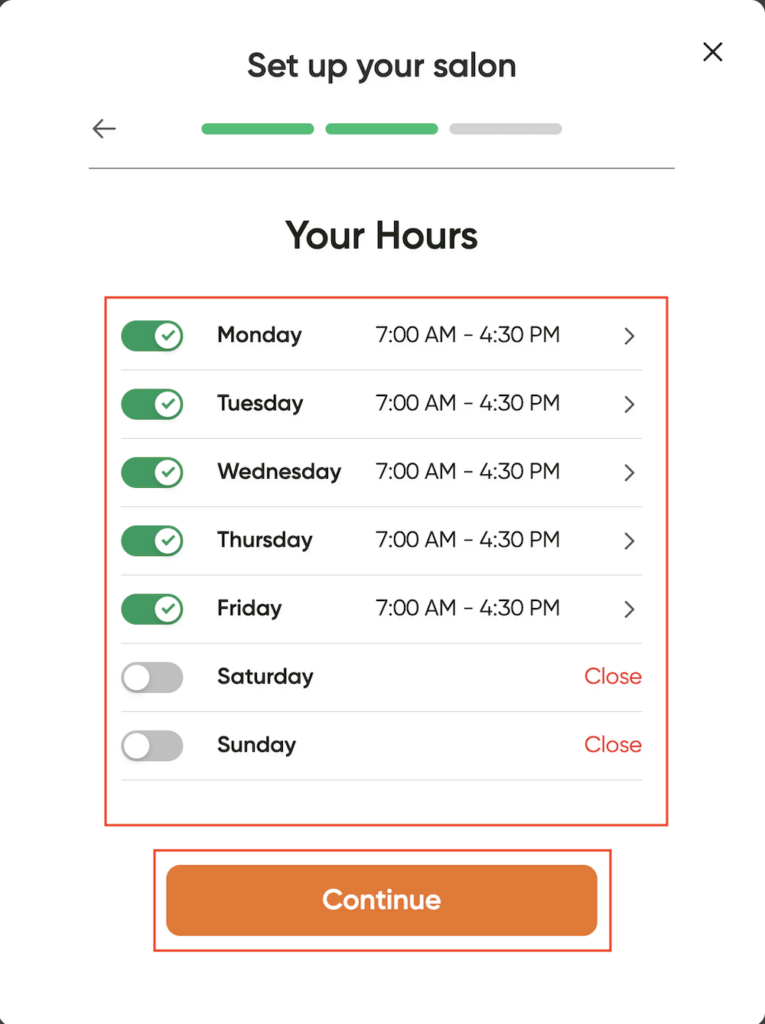
After that, set up your new salon’s business hours and select Continue.
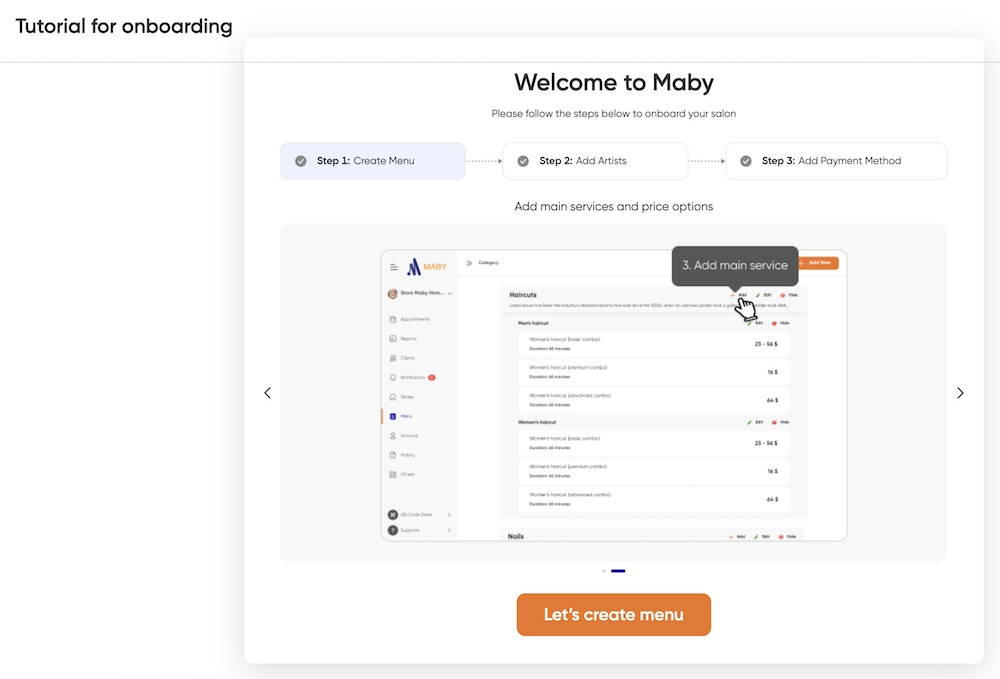
Finally, as shown in the picture, you read and follow Maby’s instructions.
Please press the small arrow to the right to read the instructions on the next page; after you have finished reading the steps, press Create Menu to execute.
Please read the instructions and do more. Step 2: Add artists; Step 3: Add payment method to set up a new salon successfully!
The Mobile Content is Below This
To manage multiple nail salons on one account, do the following:
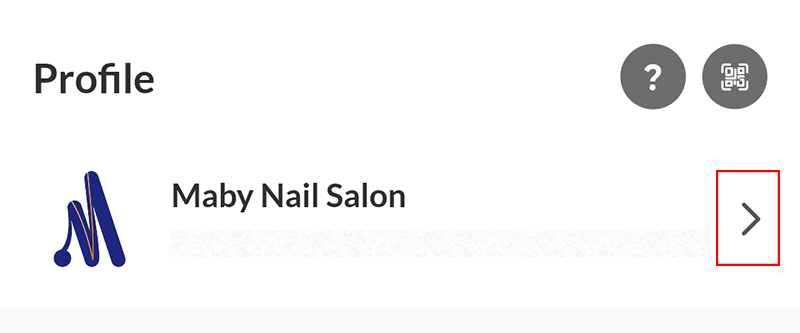
Log in to the salon’s account on Maby, tap Account.
Move to the salon’s logo and name, tap (>).
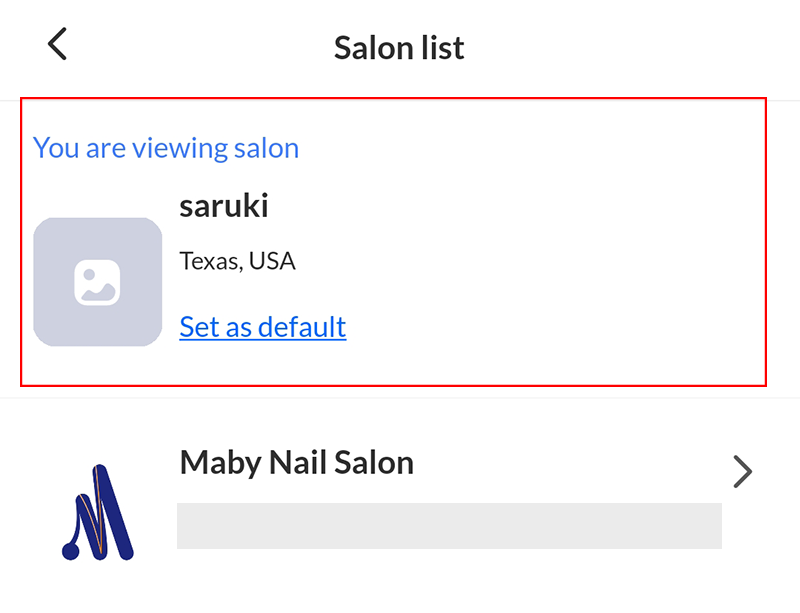
Appears the salons you are managing; tap (+) to add a new salon.
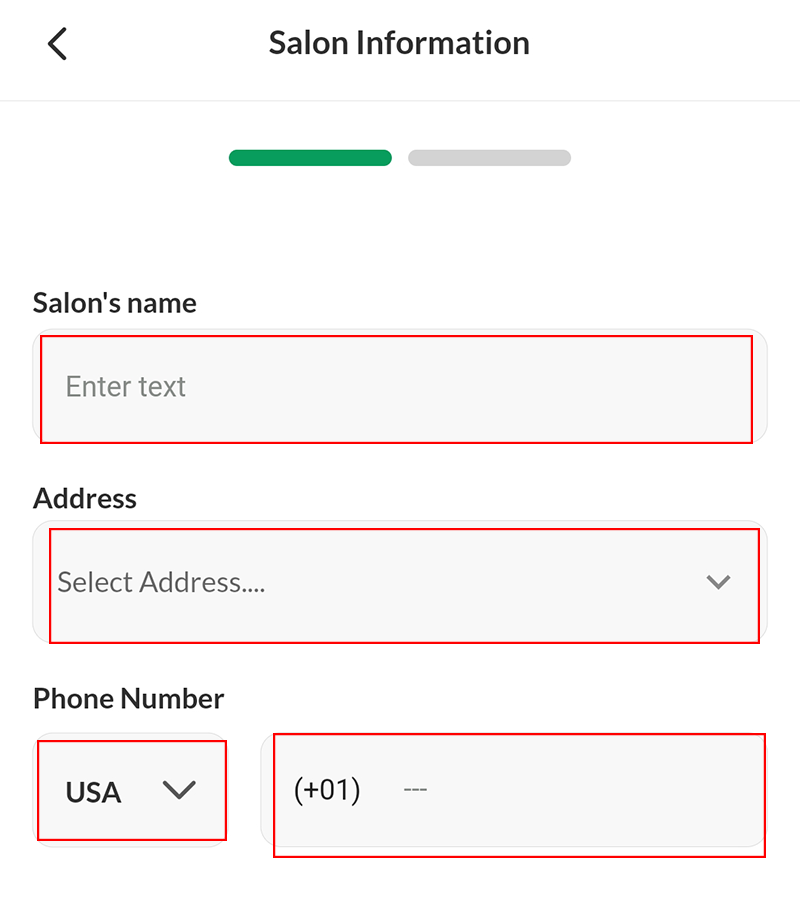
Here, you enter the information of the new salon, including the salon’s name, address, and number. Once completed, tap Continue.
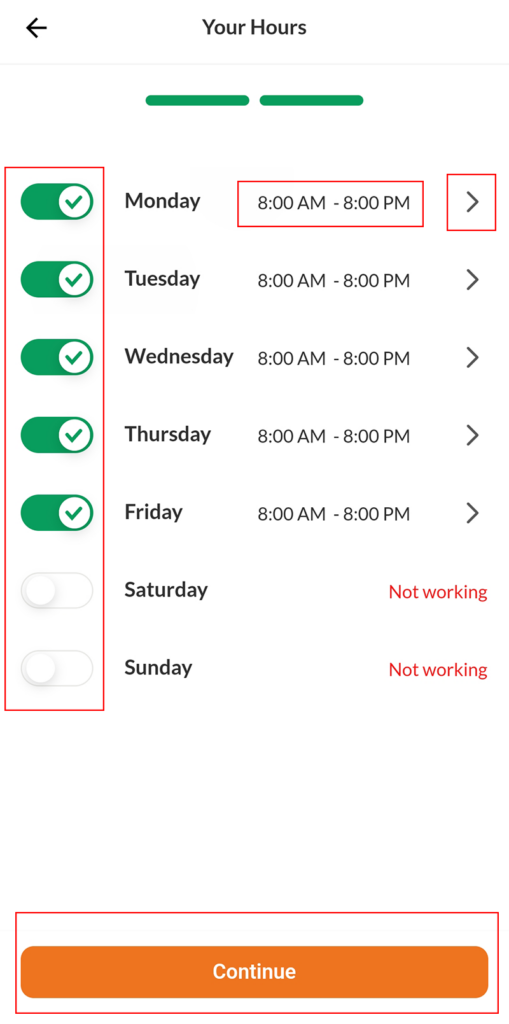
After that, set up your new salon’s business hours, then tap Continue.
So you have successfully created a new branch salon on your Maby account.
Return to the Appointment section on the toolbar, and tap the small arrow to the right to read the instructions on the next page in the frame. After you finish reading the steps, tap Let’s create Menu to perform it.